Amazing Ways to Style Floating Shelves Without the Clutter
Floating shelves look cluttered when too many items sit on too little wall, with nothing to separate them and no clear order. This article covers how to style floating shelves so they look intentional: the principles that matter, the items worth using, the techniques that work on shallow boards, and room-by-room setups for the living room, kitchen, bathroom, bedroom, entryway, and home office. Most of it costs under $50 in extras, and one shelf takes about 30 to 60 minutes.
The reason floating shelves go wrong is simple. They’re shallow, often only 8 to 10 inches deep, and they have no sides, no back frame, and no doors. A bookcase hides some of the mess. A floating shelf shows everything, and every object sits right against the wall where you see it. That’s why the same pile of stuff looks fine in a cabinet and messy on a board.
You don’t need every idea below. Pick the ones that fit your wall and your habits.
Jump To
- Why Floating Shelves Look Cluttered
- The Basic Principles of Styling Floating Shelves
- Essential Elements for Floating Shelves
- Floating Shelf Styling Techniques
- Styling Floating Shelves Room by Room
- How to Start
- Common Mistakes
- Frequently Asked Questions
- The Finishing Touch
Why Floating Shelves Look Cluttered
Clutter on floating shelves usually comes from four things. The first is quantity. A shelf 36 inches wide can look full with eight or nine objects, and most people put on twice that. The second is scale. Small items scattered in a row read as noise, while a few larger items read as a display. The third is no grouping. Items spread evenly across a board look like they’re waiting to be sorted. The fourth is daily-use items mixed with decor, so chargers, keys, and mail end up in the middle of a nice arrangement.
The fix is not to buy more decor. It’s to remove things, group what’s left, and give each group some room. Nearly every floating shelf problem is solved by editing first.
The Basic Principles of Styling Floating Shelves
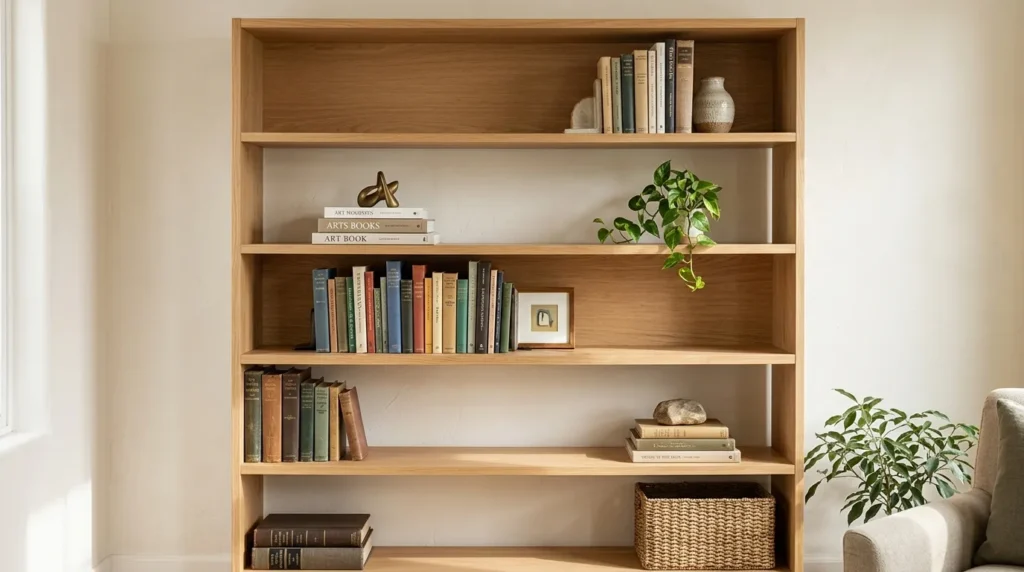
These principles apply to any shelf, and they matter more on floating boards because there’s nowhere to hide.
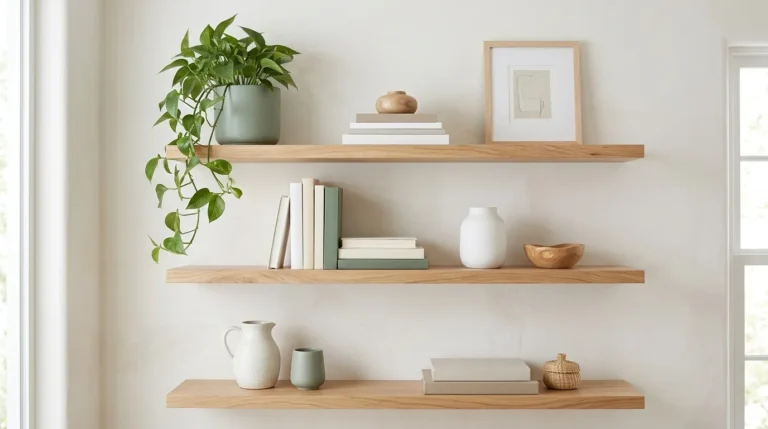
Negative Space: Leave roughly a third of each shelf empty. Open space lets the objects stand out, and it gives your eye somewhere to rest. A common guideline is a few inches of clear board on each side of a group.
The Rule of Three: Group items in threes, or in other odd numbers. A tall item, a medium item, and a short item together look natural, while two items can look stiff and four can look crowded.
Varied Height: If everything on a shelf is the same height, it looks flat. Mix tall, medium, and low pieces, and use stacked books or a small riser to lift something when you need height.
Layering: Even on a shallow shelf, you can put a small frame behind a vase, or lean art against the wall with an object in front. It adds depth without needing more room.
Repetition: Repeat a color, a material, or a shape across the shelves. Two or three colors and one or two materials, such as wood and matte ceramic, keep the wall cohesive.
Balance Without Symmetry: Each side of a shelf should carry about the same visual weight, but the items don’t need to match. One large piece on the left can balance several small pieces on the right.
Essential Elements for Floating Shelves
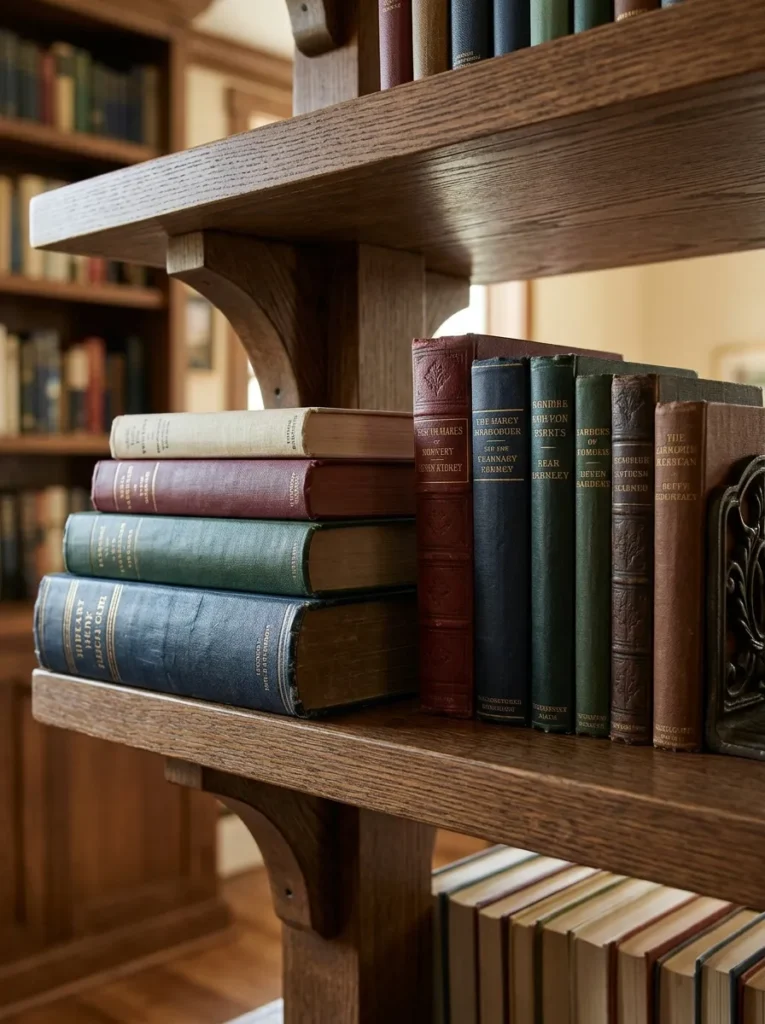
A good shelf uses a mix of item types. Use fewer of each, and choose pieces that look good together.
Books: Stack a few horizontally and stand a few upright. Three to five in a stack is plenty, and the largest book goes on the bottom. Books are heavy, so check the shelf’s load rating before you load a board with hardcovers.
Plants: A small potted plant or a trailing plant like pothos adds life. Use a pot with a drainage hole and a saucer, since water damages shelves. If the light is low, a good faux plant looks fine and needs no care.
Framed Art: Lean one or two frames against the wall instead of hanging them, and overlap them a little. Keep the frames in one or two colors so they don’t compete.
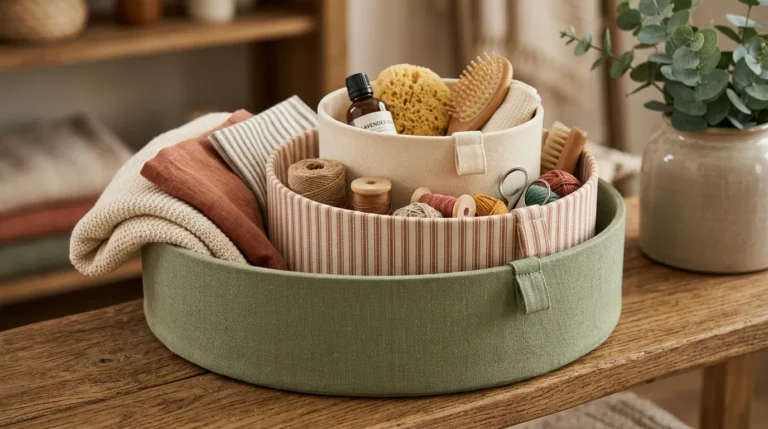
Baskets and Boxes: These hide the things you need but don’t want to see. Measure the shelf depth and height, and buy baskets an inch or so smaller. A box that’s too snug won’t slide out.
Objects: A candle, a small bowl, a ceramic vase, or one object you picked up on a trip. Keep to a few, and make sure each has a space of its own.
Personal Touches: One or two items that mean something, such as a photo or a handmade piece, make the shelf feel like yours. More than that and it starts to look like a collection.
Shop This Look
Floating Shelf Styling Techniques
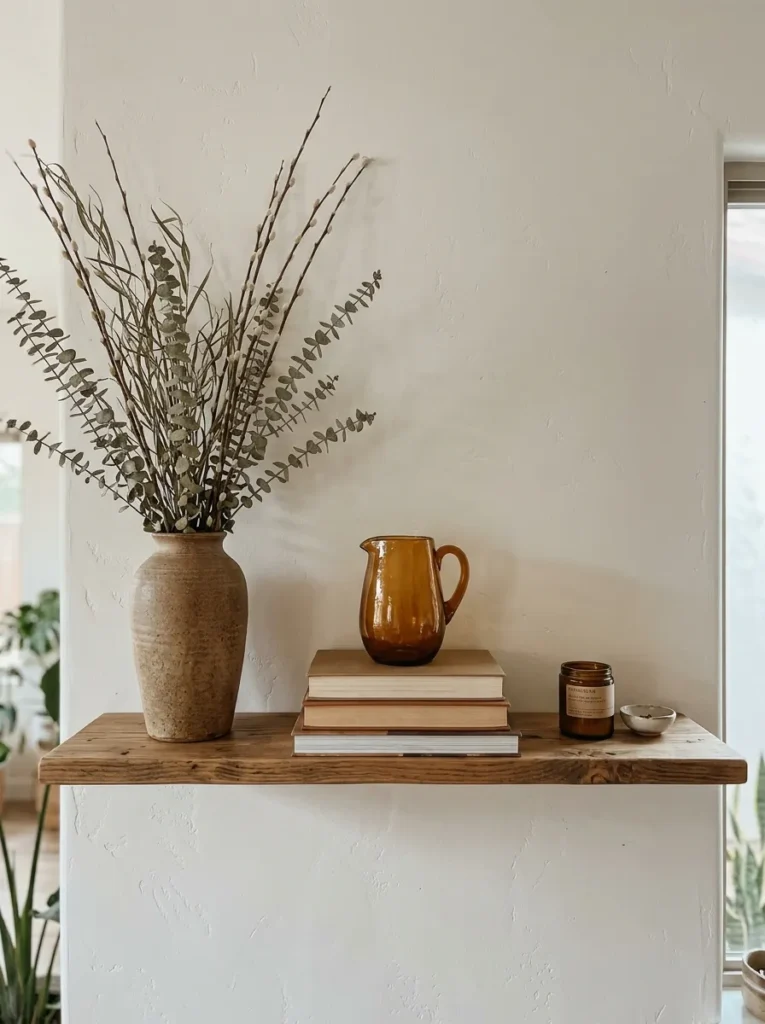
Different approaches work for different walls and moods. Here are the ones that hold up best on shallow boards.
The Triangle Technique: Arrange items so the eye moves in a triangle. Put a tall item on one side, a medium one near the middle and slightly forward, and a short one on the other side. It gives the group a natural flow and keeps the shelf from looking like a lineup.
The Stacking Strategy: Stack two to four books flat and put a small object on top, such as a candle or a little plant. This adds height without needing a taller object, and it saves space.
The Bookend Method: Use two decorative items as bookends for a group of upright books. A vase on one end and a small sculpture on the other frame the books and give the shelf a clear start and end.
The Zigzag Layout: On a stack of two or three shelves, put the heavy visual item on the top shelf at one end, the next one on the middle shelf at the opposite end, and the third on the bottom shelf at the first end. The eye zigzags down the wall, and no single side feels loaded.
The Basket Hide: Put the practical things in one basket or box, and place it at the end of a shelf. Everything you need is still in reach, and the shelf looks clean.
The Single Statement Piece: Give one shelf to one large object, such as a big framed print or a bowl. This creates a calm focal point and gives the other shelves a break.
The Seasonal Swap: Keep the base the same and change two or three items by season. A few dried stems in autumn, a fresh branch in spring. It keeps the wall fresh without buying more.
Styling Floating Shelves Room by Room
Each room has different needs. These setups include the practical details that matter in each one.
Living Room Floating Shelves Above the Sofa
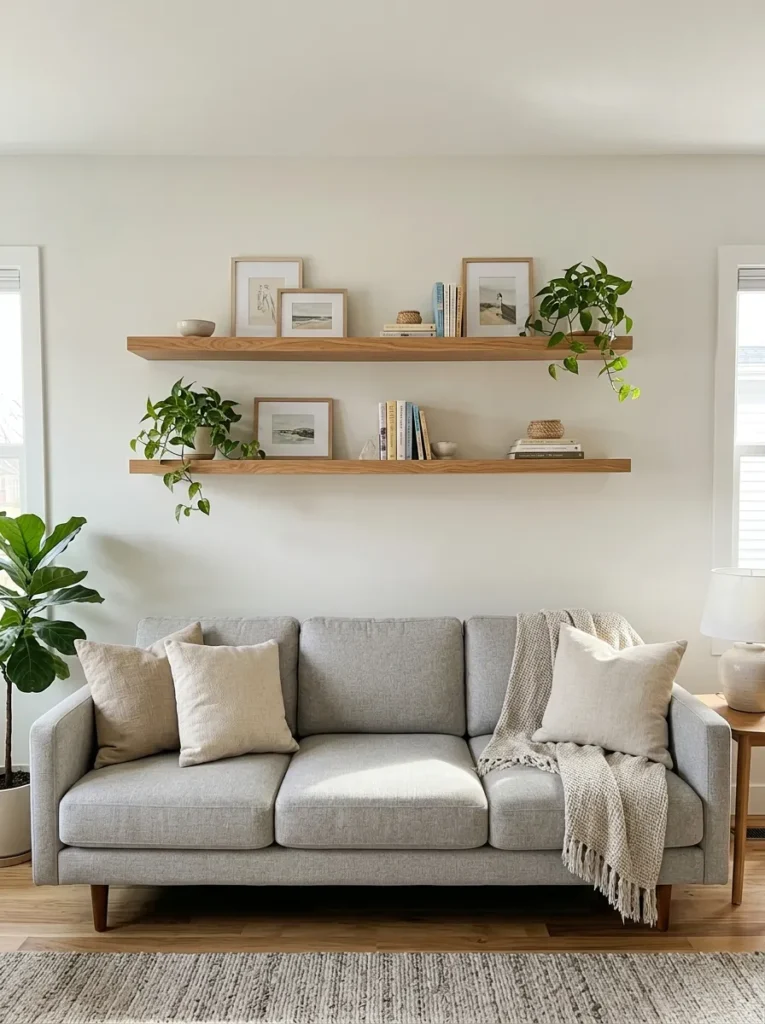
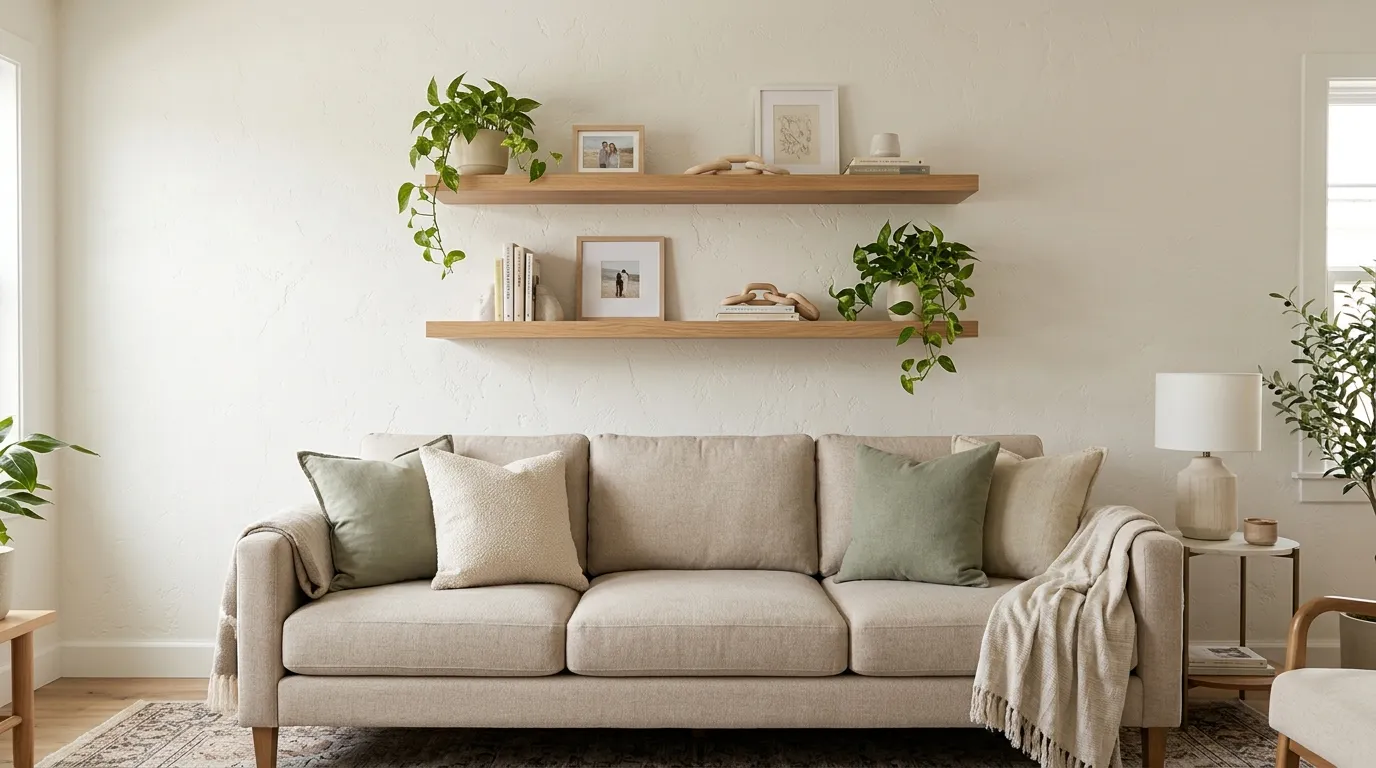
A pair of floating shelves above a sofa is a common choice, and it works best when the shelves are about two-thirds the width of the sofa. A guideline is to hang the lowest shelf about 8 to 12 inches above the back of the sofa, so heads don’t hit it. Keep the items light and low-risk.
Weight note: Anything above seating should be light and unlikely to fall. Skip heavy ceramics and glass, and use baskets, small plants, and lightweight frames. Fix the shelf into studs where you can, which are often 16 inches apart on center, though some homes use 24.
Layout tip: Put one group of three on each shelf, with space between. Lean a framed print at one end and keep the other end empty. It suits living rooms where the wall above the sofa feels bare.
Shop This Look
Kitchen Floating Shelves for Everyday Dishes
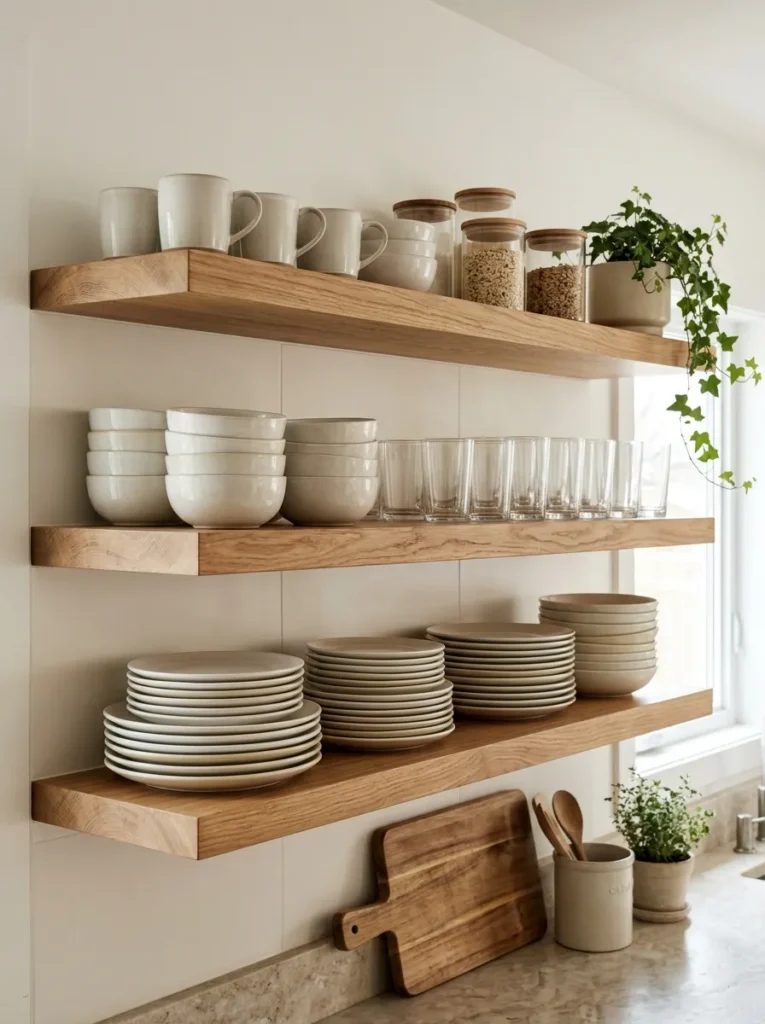
In a kitchen, floating shelves usually hold plates, bowls, and glasses. They look tidy when the items match and are stacked in even towers. White or neutral dishes read as calm, and a mix of colors can look busy.
Grease note: Kitchen shelves pick up grease and dust, so keep daily-use items there and wipe them regularly. Keep delicate decor away from the stove. Stack plates in groups of 6 to 8, and glasses in rows.
Spacing tip: Leave 10 to 14 inches between stacked shelves, depending on what’s on them, so you can reach the plates without bumping the shelf above. Add one plant or one cutting board leaned at the back for variety. It suits small kitchens without upper cabinets.
Shop This Look
Bathroom Floating Shelves for Towels and Toiletries
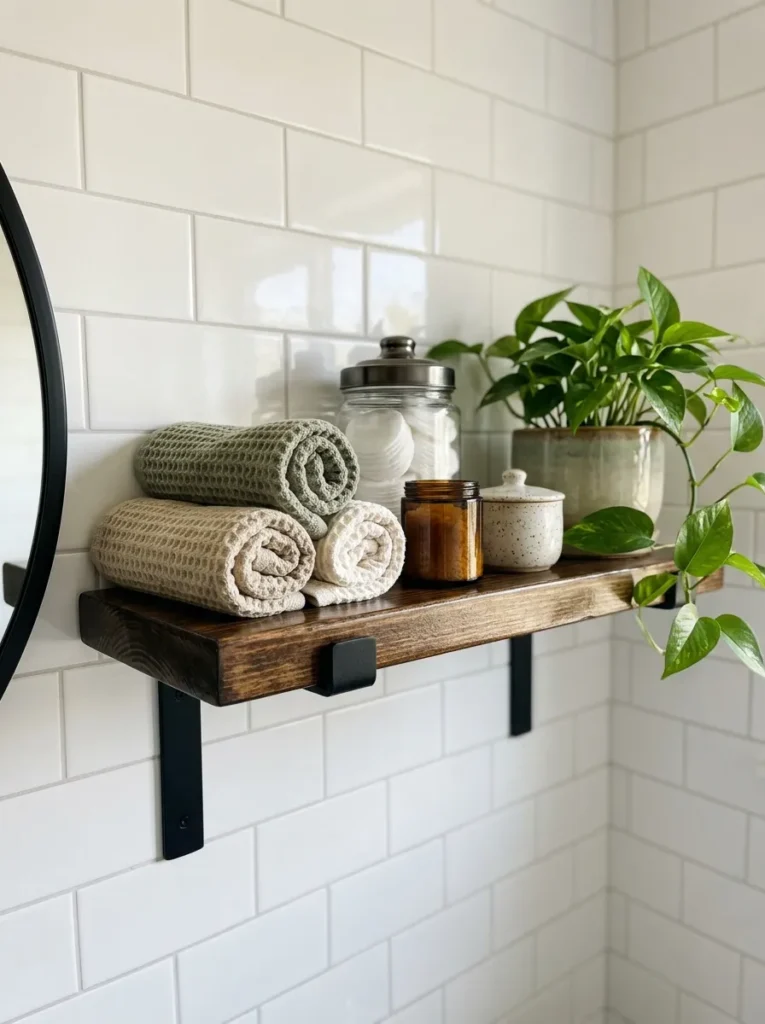
A bathroom shelf works well for rolled towels, a small plant, and a few jars. Choose items that handle moisture, such as glass, ceramic, and metal. Unsealed wood can warp in a damp room.
Moisture note: Use the bathroom fan or open a window after showers, and seal any wood with a clear finish that’s suitable for damp areas. Keep paper items off the shelf. A faux plant often does better than a real one in a windowless room.
Towel tip: Roll towels tightly, stack them in a pyramid or put them in a basket, and keep the colors close. Put daily items, like cotton balls, in a lidded jar. It suits small bathrooms with a shelf above the toilet or beside the sink.
Shop This Look
Bedroom Floating Shelves as Nightstands or Headboard Decor
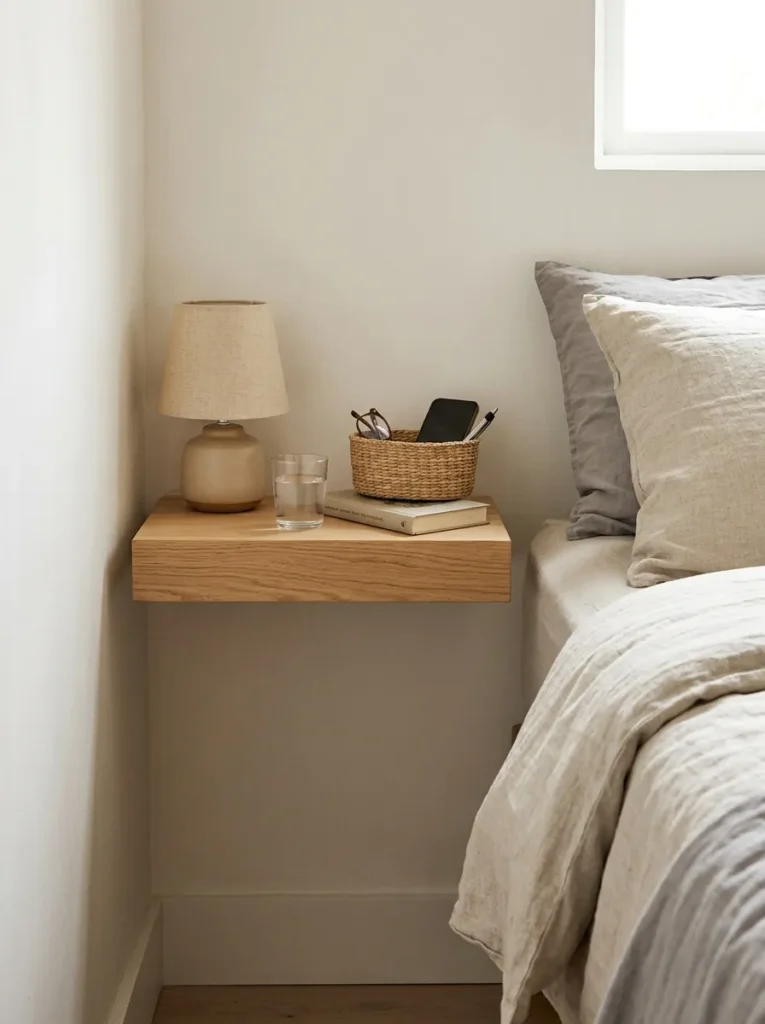
A floating shelf beside the bed works as a nightstand when floor space is tight. Keep the surface for a lamp, a book, and a glass, and use a small basket or tray for the rest. Hang it about level with the top of the mattress, so you can reach it from bed.
Safety note: Items on a shelf near a bed can fall on you, so keep it light and use a lip or a tray. Fix the shelf into studs. Don’t put heavy objects over the head of the bed.
Cord tip: Run the lamp cord behind the shelf or use a rechargeable lamp. Keep the arrangement simple, since the bedroom is where you want things calm. It suits small bedrooms and rentals where a nightstand won’t fit.
Shop This Look
Entryway Floating Shelves With Hooks Below
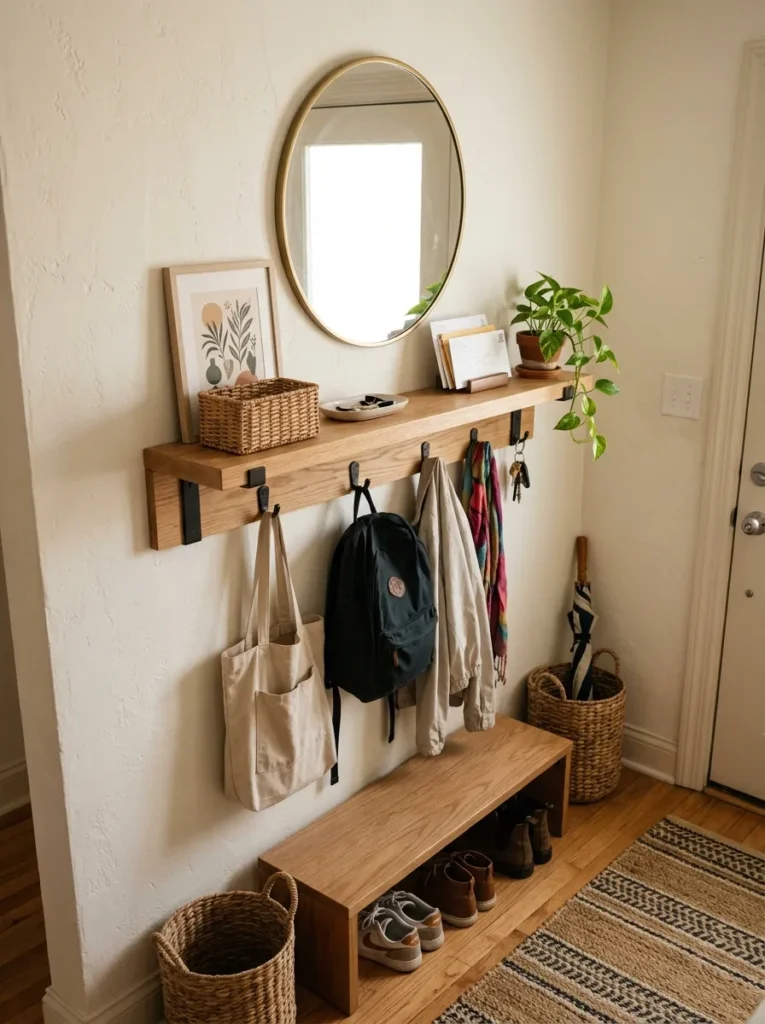
A shelf above a row of hooks creates a drop zone for keys, mail, and bags. Put a tray or a basket on the shelf for small items, and a mirror or print above. This makes a small entry look planned.
Hook note: Mount the hooks at about 60 to 66 inches from the floor for adult coats, and lower ones for children. Keep the shelf high enough that hanging bags don’t hit it. Use a shelf with a lip so keys don’t slide off.
Mail tip: Keep a small basket for mail and sort it every few days, since mail piles up fast. Leave the rest of the shelf nearly empty. It suits apartments with a small hallway and no console.
Shop This Look
Home Office Floating Shelves Above a Desk
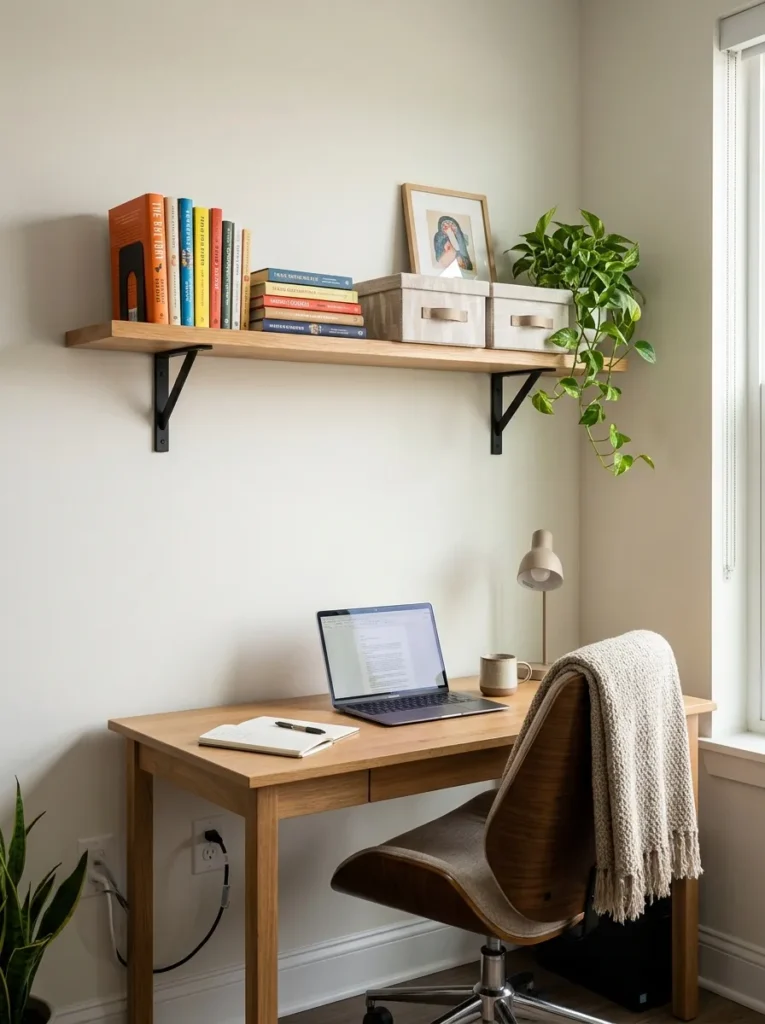
A shelf above a desk gives you storage without using desk space. Keep books and boxes you reach for, and a plant or a frame for a focal point. Leave enough clearance so you don’t hit your head.
Clearance note: Hang the shelf about 18 inches above the desk surface or higher, depending on your monitor and your height. Check that a laptop screen, a lamp, or a monitor arm can still move. Don’t put heavy items directly over your head.
Cable tip: Use cable clips along the wall, and keep a basket for chargers. Keep decor minimal, so the shelf doesn’t distract. It suits small offices and desks in bedrooms.
Shop This Look
How to Start
Start with one shelf. Take everything off, wipe it down, and put back only what you use and like. Then build one group of three, add a plant or a basket, and stop. It takes about 30 to 60 minutes, and you’ll see what works before you spend money.
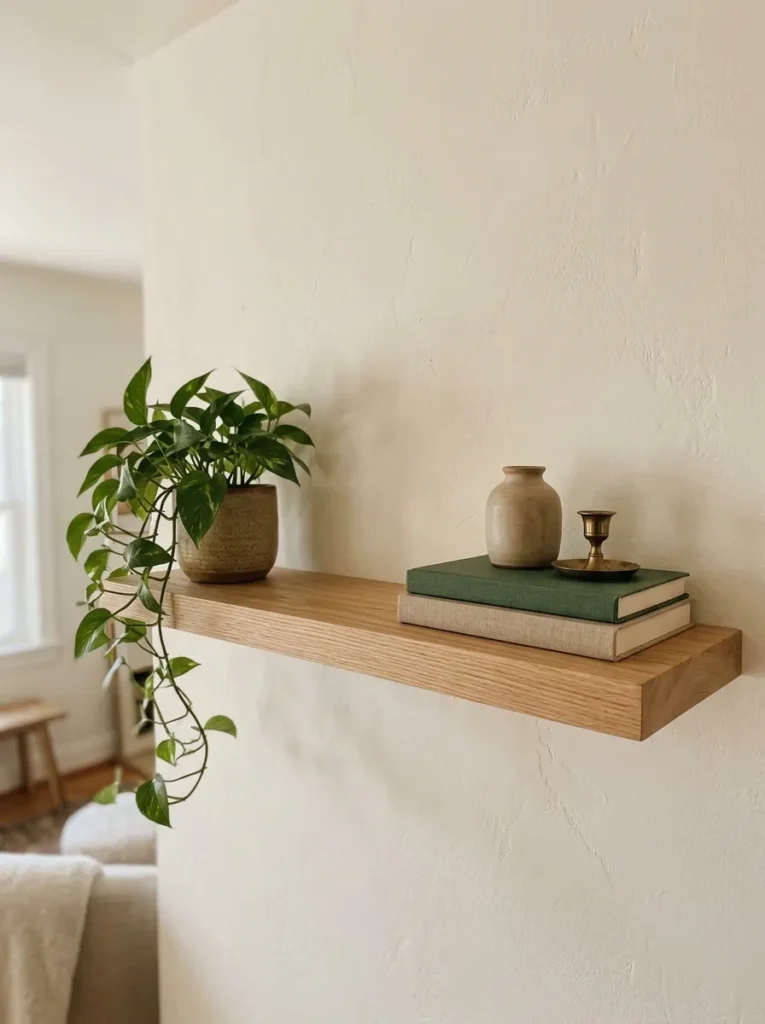
Before you style anything, check the shelf itself. Make sure it’s level, that the brackets are secure, and that you aren’t over the load limit. Many shelves are rated for a specific weight, and the rating depends on the bracket and the wall, so follow the instructions that came with it.
Three things under $50 give you the most to work with: a woven basket for hidden items, a small plant or faux plant, and a set of wood risers or a few extra books to vary heights. Together they usually cost under $50, depending on the brand and the store.
Shop This Look
Common Mistakes
Most floating shelf problems come from the same few habits.
Too Many Items: The most common mistake. A shelf with a dozen small objects looks like a flea market stall. Remove half of them and look again.
Wrong Scale: Tiny objects on a long shelf disappear, and a huge object on a short shelf crowds it. Match the size of the object to the board, and group small items together.
Overloaded Shelves: Books and ceramics are heavy. A shelf that bows or pulls from the wall is a hazard, so check the load rating, use studs where you can, and spread weight across several shelves.
Wrong Fixings: Plastic anchors in drywall hold much less than a stud. Use the hardware that suits your wall type, and don’t trust adhesive strips for heavy loads.
Ignoring Light and Moisture: Direct sun fades fabric and paper, and bathroom moisture warps unsealed wood. Choose materials that suit the spot.
Mixing Daily Items With Decor: Keys, chargers, and mail look messy next to a styled group. Give them a basket or a tray.
Frequently Asked Questions
How many items should I put on a floating shelf?
There isn’t a fixed number, but fewer usually looks better. A 36 inch shelf often holds one or two groups of three items, with space on each side. Leave about a third of the board empty.
How do I arrange items on floating shelves so they don’t look cluttered?
Take everything off, then add back only what you use or love. Group items in threes, vary the heights, and leave space between groups. Put practical items in a basket.
How far apart should floating shelves be?
A common guideline is about 10 to 14 inches between stacked shelves, depending on what you put on them. Books need about 10 to 12 inches, and taller objects need more. Measure your tallest item first.
How much weight can a floating shelf hold?
It depends on the shelf, the brackets, and the wall. Check the manufacturer’s rating, and fix brackets into studs where possible. Drywall anchors hold less, so follow the instructions and keep a margin.
What should I put on floating shelves besides books?
Plants, small framed art, baskets, a candle, a bowl, and one or two personal items. Mix heights and textures. Keep daily items in a basket or a box.
The Finishing Touch
When you finish a shelf, step back a few feet and take a photo. A photo shows crowding and crooked items faster than your eyes do. Check three things: whether the eye moves smoothly along the shelf, whether about a third of the board is empty, and whether anything sits too close to the edge.
If something feels off, remove one item and look again. Keep going until it settles. A flat shelf usually needs one raised object. A boring one needs a different texture. A crowded one needs a basket or a second shelf.
Floating shelves look calm because of what you leave off them. Pick one shelf today, clear it, and put back only what earns its spot. Save your favorite floating shelf styling ideas to a Pinterest board so you can come back to them when you’re ready to do the next wall.